Last reviewed: August 2, 2026. A 12-day Patagonia itinerary cannot cover the entire region, and it becomes much better once it stops trying. This route joins El Calafate and El Chalten in Argentina with Puerto Natales and Torres del Paine in Chile. It uses overland connections where they make geographic sense and protects the days most vulnerable to wind and weather.
The plan suits travelers who want day hikes and major landscapes without committing to the full W or O trek. Those multi-day routes need separate reservations and a different luggage strategy.
The route at a glance
- Days 1-2: El Calafate and Perito Moreno Glacier.
- Days 3-5: El Chalten with two hiking days.
- Day 6: Return to El Calafate and reset.
- Day 7: Cross to Puerto Natales, Chile.
- Days 8-10: Torres del Paine and a weather buffer.
- Days 11-12: Puerto Natales, onward flight and departure margin.
An open-jaw flight into El Calafate and out through Puerto Natales or Punta Arenas can prevent backtracking. Compare the complete journey, because fewer flight segments do not always mean a shorter door-to-door day.
Patagonia in 12 days
Day 1: Arrive in El Calafate
Use the arrival day for supplies, cash and a relaxed walk beside Lago Argentino. Confirm the next morning’s pickup and ask whether the excursion includes national-park admission. Do not schedule a long transfer immediately after a tight domestic connection.
Day 2: Perito Moreno Glacier
The boardwalk network makes the glacier accessible without a technical excursion. Boat trips and ice activities are separate products with different physical and age requirements. Check the official Los Glaciares visitor information for current access, hours, rates and safety notices before travel.
Wind changes how cold the day feels. Pack gloves, a warm layer and a waterproof shell even when El Calafate’s forecast looks mild.
Day 3: Bus to El Chalten
Travel to El Chalten in the morning and use the afternoon for a short viewpoint walk. The town is built around trail access, which makes it possible to hike without a rental car. Buy food before an early start and download trail information while the connection is reliable.
Days 4-5: Two hiking days
Choose the longer objective for the better forecast. Laguna de los Tres is demanding and should not be treated as an automatic first hike. Laguna Torre, shorter viewpoints and lower routes may be a better fit depending on wind, trail conditions and ability.
Start with the park’s current advice, then ask locally on the morning of the hike. Carry layers, water, food and a charged phone, but do not assume mobile coverage. Turn around when conditions deteriorate; the mountain does not owe a traveler the photo seen online.
Day 6: Return to El Calafate
This apparently quiet day is valuable. It prevents a late hiking return from colliding with the international bus to Chile and gives you time to reorganize luggage, laundry and documents. If the weather canceled a priority El Chalten hike, an early return is still better than gambling on the border connection.
Day 7: Cross the border to Puerto Natales
Book the international bus in advance when schedules are limited. Carry the correct passport and check both countries’ current entry and customs rules. Fresh food, plants and animal products can be restricted at the Chilean border; declare items honestly instead of guessing.
Arrival times can move with the border process. Do not attach a non-refundable park excursion to the same afternoon.
Day 8: Torres del Paine overview day
A full-day circuit is useful for travelers who are not renting a car. It introduces the park’s scale, viewpoints and road distances before a dedicated hike. Ask whether the vehicle stops involve real walking time or mostly quick photos.
Day 9: Your main Torres del Paine hike
The Base Torres route is long and exposed, with a steep final section. Choose it only if it matches your conditioning and the current conditions. Alternatives around Grey, Pehoe and shorter viewpoints can deliver a stronger day for travelers who would spend the Base route watching the clock.
If you plan to sleep inside the park or undertake the W or O circuits, use the park’s official reservation guidance. Accommodation and campsite bookings are not interchangeable with park admission.
Day 10: Weather buffer or second park day
This day is the route’s insurance policy. Use it for a boat trip, a second hike or a quieter visit if the previous days worked. In Patagonia, an empty slot is not wasted space; it is what lets you respond intelligently to weather.
Day 11: Puerto Natales and onward connection
Spend part of the day in town, then connect to Puerto Natales airport or Punta Arenas according to the current schedule. Check which airport appears on the ticket. Punta Arenas is a separate city and transfer, not another name for Puerto Natales.
Day 12: Departure buffer
Keep the last night near the airport used for the onward flight, particularly when the international ticket is separate. Strong winds and limited frequencies can turn a legal connection into a fragile one.
When to travel
Southern summer offers long daylight and the broadest visitor services, but it also brings high demand and famously changeable wind. Shoulder periods can be quieter, with a greater chance of reduced transport or accommodation schedules. Winter travel is a specialist plan, not the same itinerary with a heavier coat.
Check park and operator notices for the exact season you will travel. Old posts often preserve last year’s trail dates and bus times long after they have stopped being useful.
What to reserve first
- International and domestic flights with realistic connection margins.
- Any W or O trek accommodation, if applicable.
- El Chalten and Puerto Natales lodging in high-demand periods.
- The cross-border bus.
- Capacity-limited glacier or boat activities.
Day hikes do not require every minute to be pre-purchased. Preserve enough flexibility to move the hardest walk to the better forecast.
Budget choices that matter
Private transfers, park lodging and one-way car rentals can transform the cost. Public buses and town-based day hikes keep the route more controlled. A cheap room far outside Puerto Natales may create expensive early transport, while a central El Chalten room can put trailheads within walking distance.
Carry two payment methods and some local currency in each country. Do not rely on one card or on exchanging money at a remote border.
Patagonia packing essentials
- A waterproof, wind-resistant outer layer and insulating mid-layer.
- Broken-in hiking footwear and spare dry socks.
- Sun protection; cool air does not remove ultraviolet exposure.
- A reusable bottle, trail food and a small pack cover or dry bags.
- Offline maps, insurance details and passport copies.
Four mistakes to avoid
Do not combine a border crossing and a major hike. Do not book the hardest trail for the only clear day before checking the current wind. Do not confuse a scenic road distance with travel time. Finally, do not force Ushuaia into these 12 days; it requires flights or a much longer overland commitment.
For country-level planning, compare our Argentina travel guide and Chile travel guide.
Frequently asked questions
Can I see Patagonia in 12 days?
You can see one connected section well. This itinerary covers Los Glaciares and Torres del Paine, not Ushuaia, Bariloche and the Carretera Austral.
Do I need a car?
No. Buses connect the towns, El Chalten has walkable trail access and guided park trips leave from El Calafate and Puerto Natales.
Is the W trek included in this itinerary?
No. A multi-day W trek needs reserved accommodation, food and a revised route. This plan uses town bases and day trips.
Which side of Patagonia is better?
Neither is universally better. Argentina offers straightforward access to Perito Moreno and El Chalten; Chile offers Torres del Paine’s varied lakes, peaks and trails.
Official planning links
- Los Glaciares National Park
- Official Los Glaciares trip planning
- Torres del Paine reservation systems
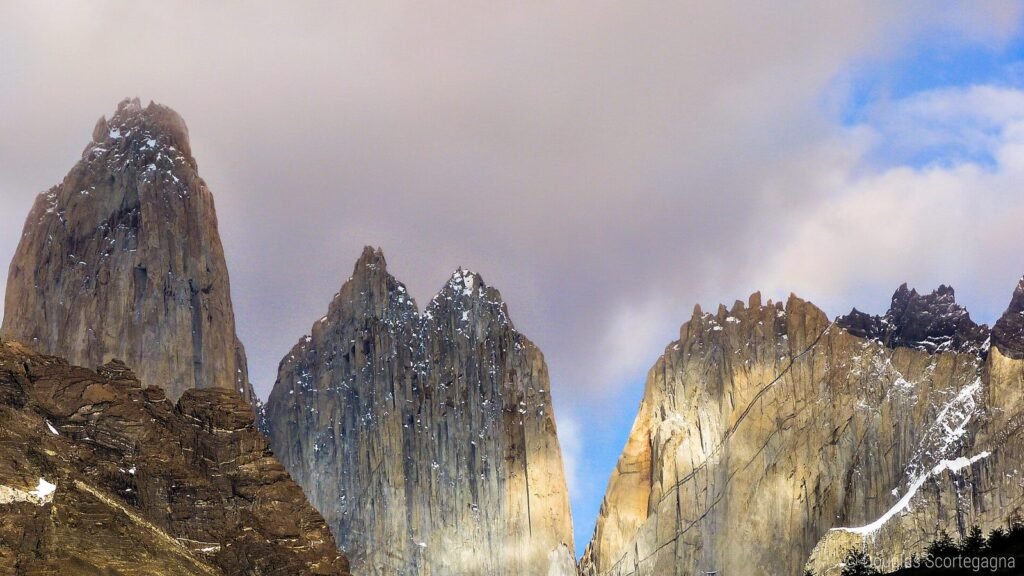
Featured image: Torres del Paine by Douglas Scortegagna via Wikimedia Commons, CC BY 2.0.